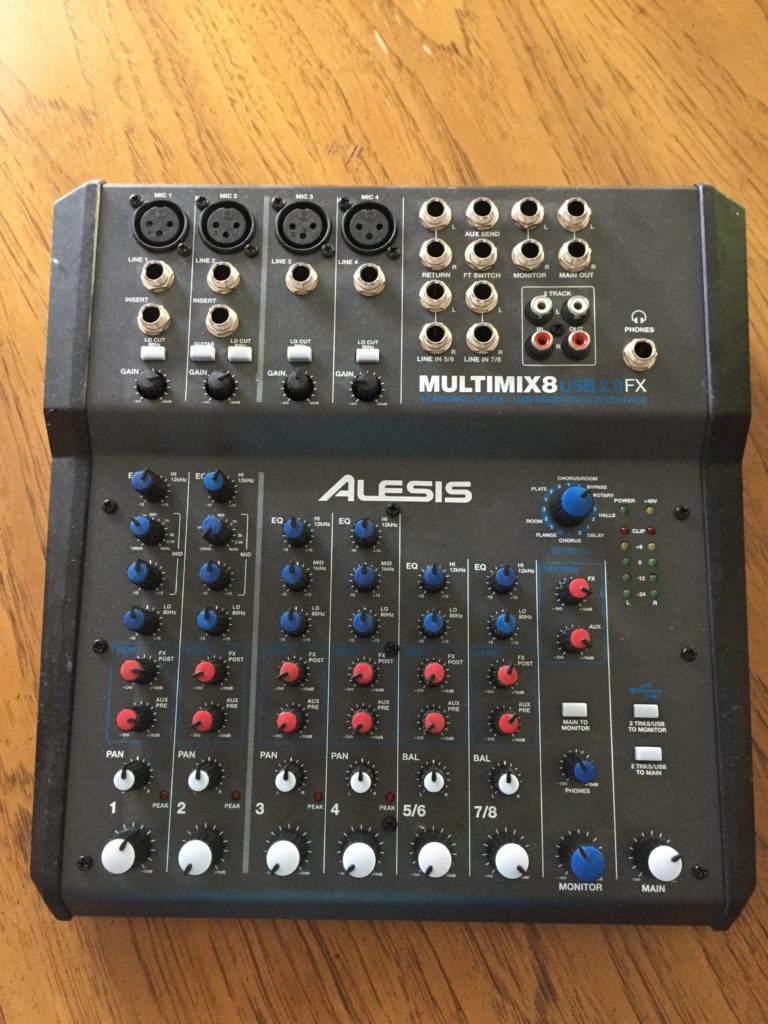
Alesis MultiMix 8 USB 2.0 FX Cleaning

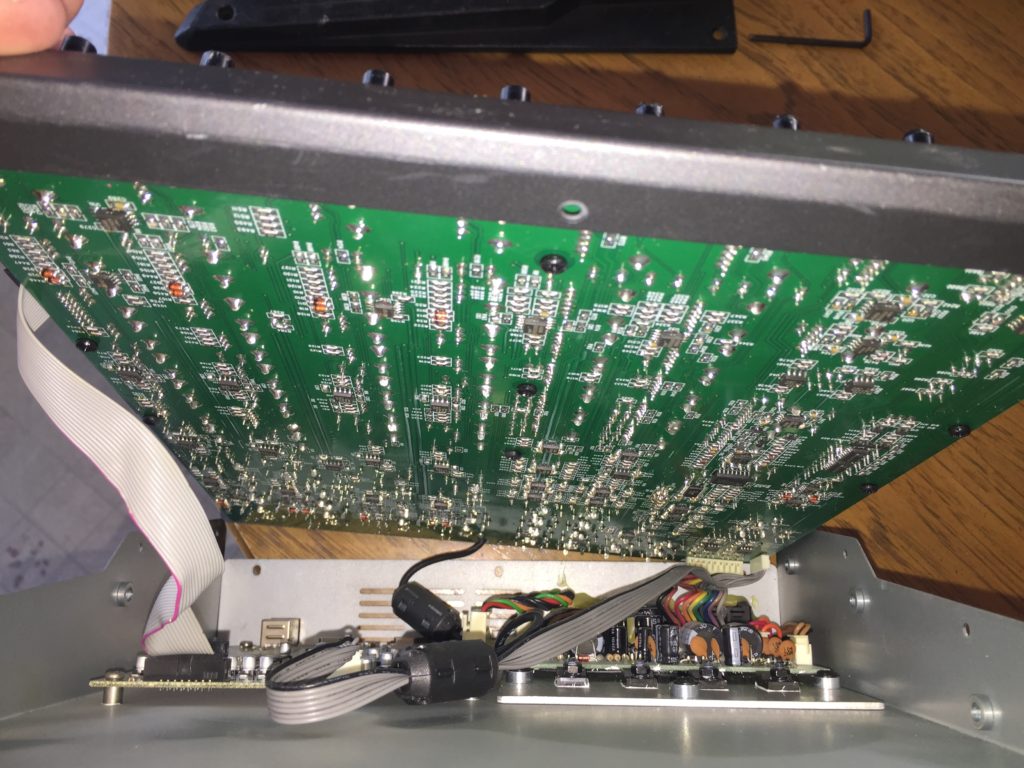
This Alesis MultiMix 8 USB 2.0 FX mixer/audio interface has worked well for me over the years in my home studio, but lately the switches were noisy and would take some time to try to get working right. Dust and grime had seeped into the switches and pots and they were dirty on the inside. I finally had enough of it, so I decided to tear it open and clean everything. Here’s a few pictures on my adventure:

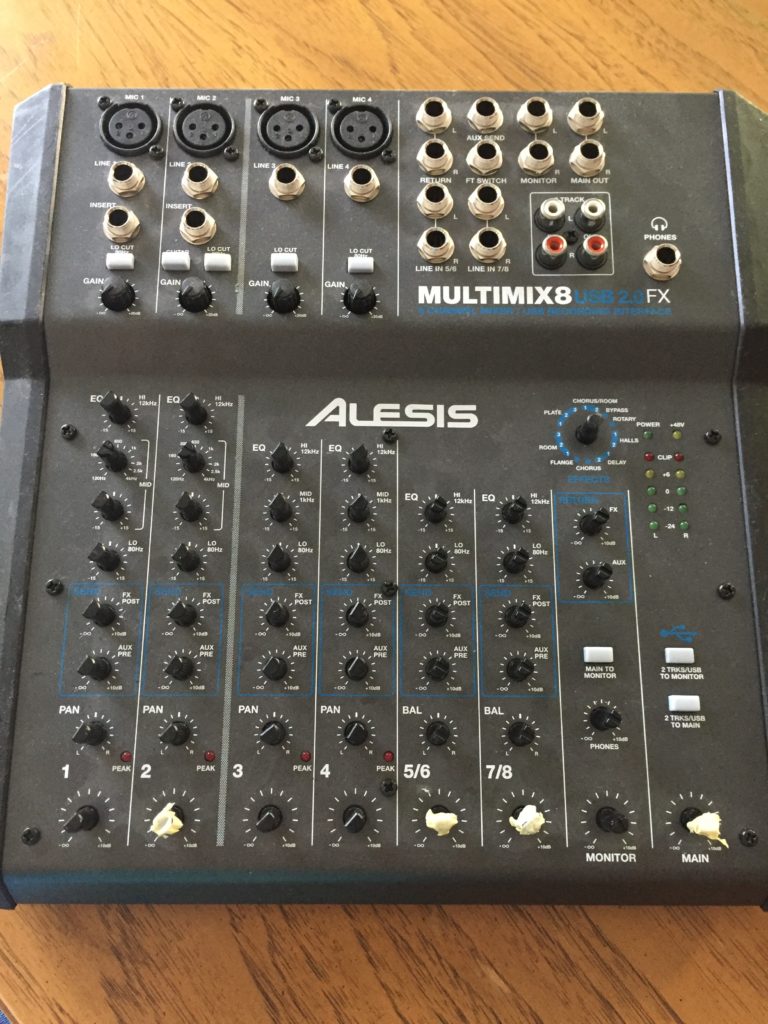
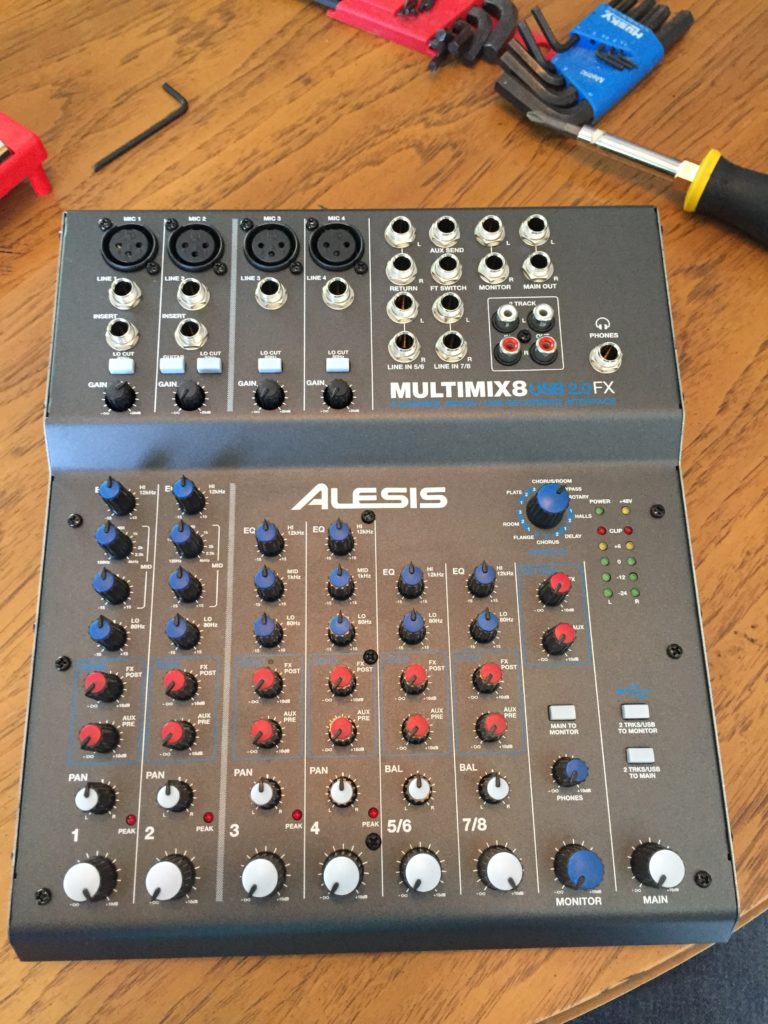
Before
Knobs removed, some bits of tape (2, 5/6, 7/8 and Main) must’ve been used to hold loose knobs
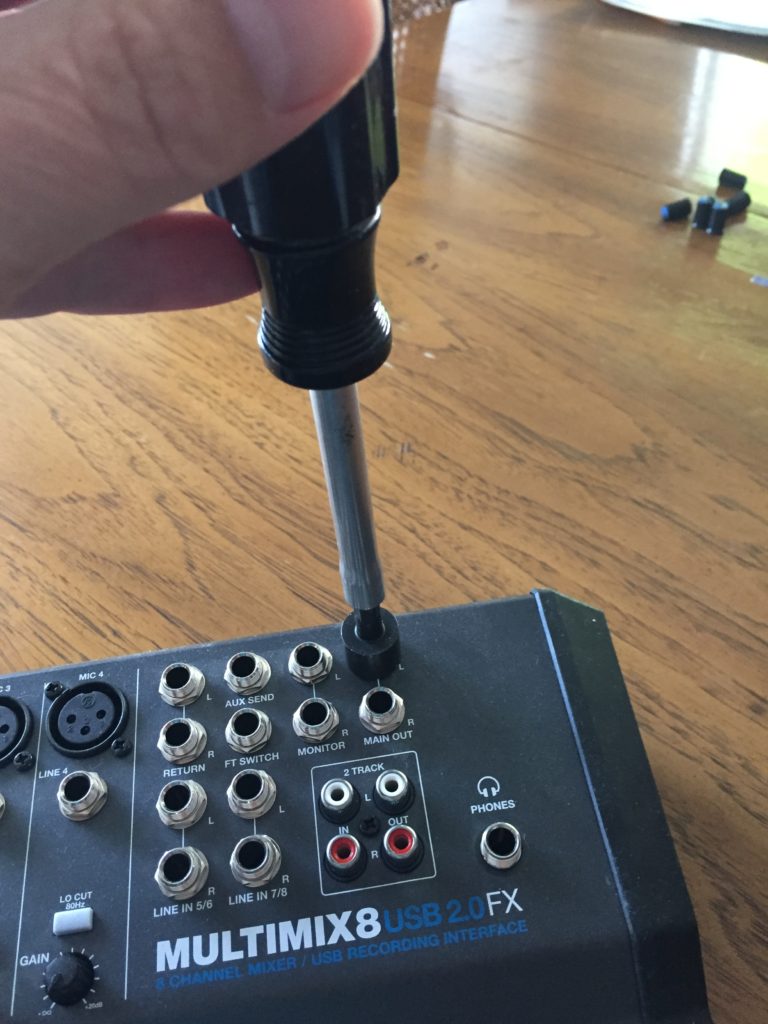
Removing nuts on 1/4″ connectors
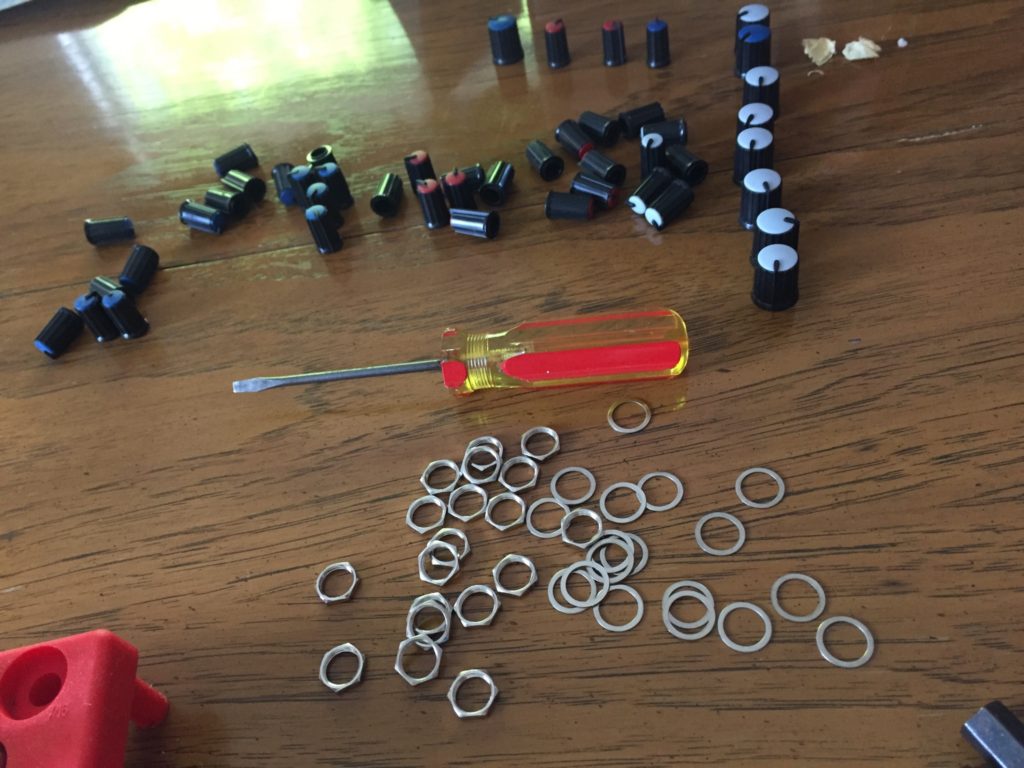
Knobs, nuts and washers removed
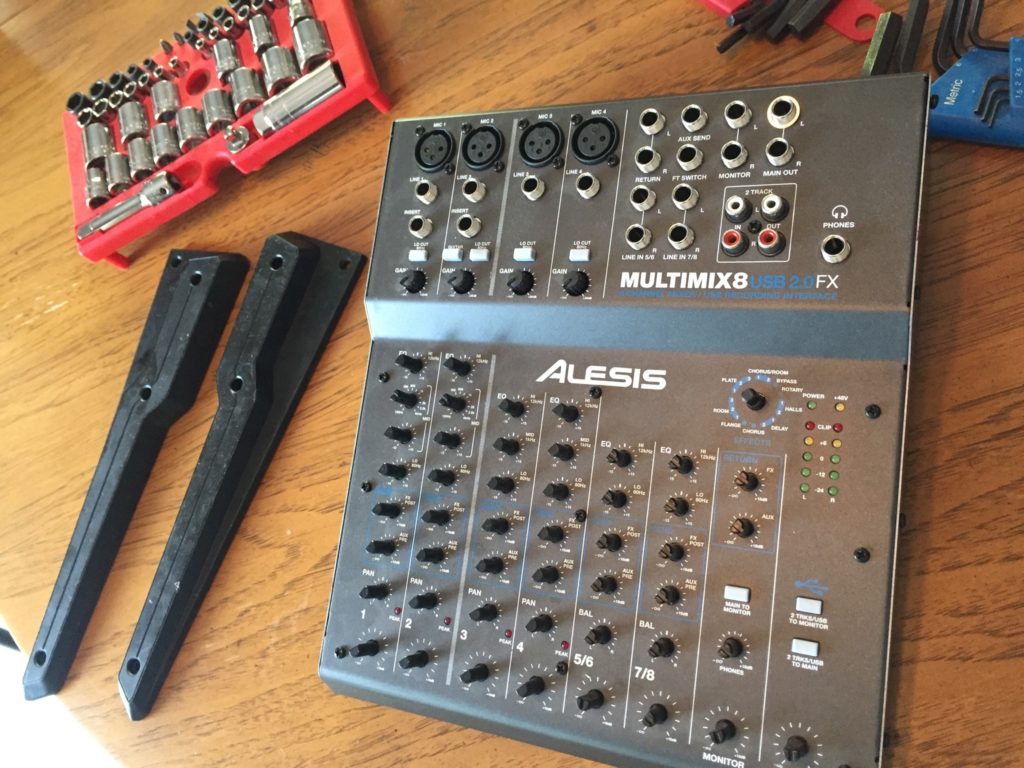
Side caps removed, bits of tape removed
After opening case, see the connectors to be removed – all except the black power cable
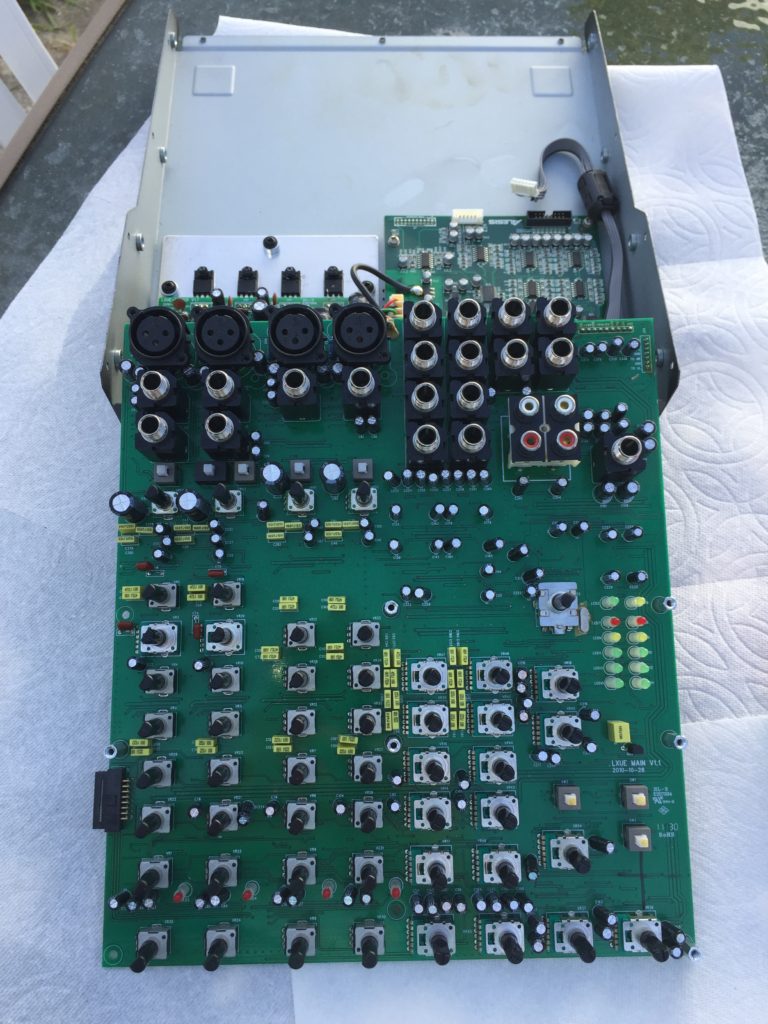
Main board out, set on paper towels, outside for ventilation of fumes…from:
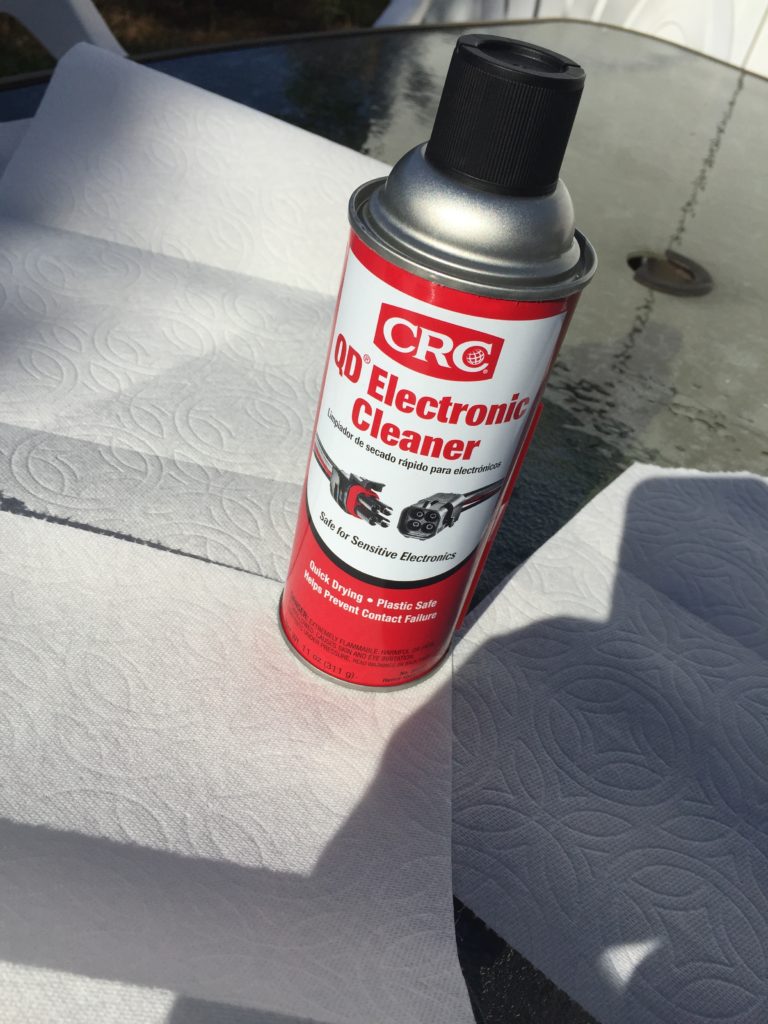
QD Electronic Cleaner to the rescue…use the long tube to spray in the openings on the sides of the potentiometers and through the tops of the push switches, then exercise each one. I used this video as a reference.
All back together minus the side caps…tested it and it works! No more noisy, finicky switches and crackly noises when I turn the knobs.
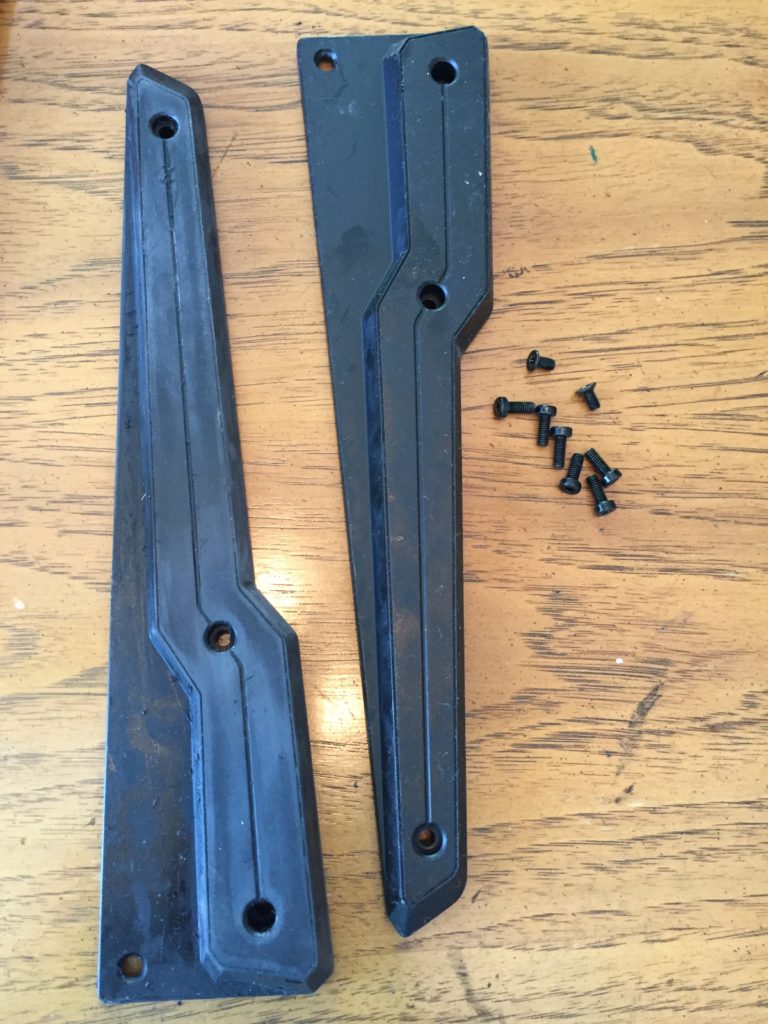
Spare parts. These side caps had some sort of coating that became gummy over the years. I tried using the QD cleaner to no avail, then I started sanding one and decided it just was not worth the effort. All these do it cover the edges of the metal especially over the top edge mainly for aesthetic purposes…so off they go!

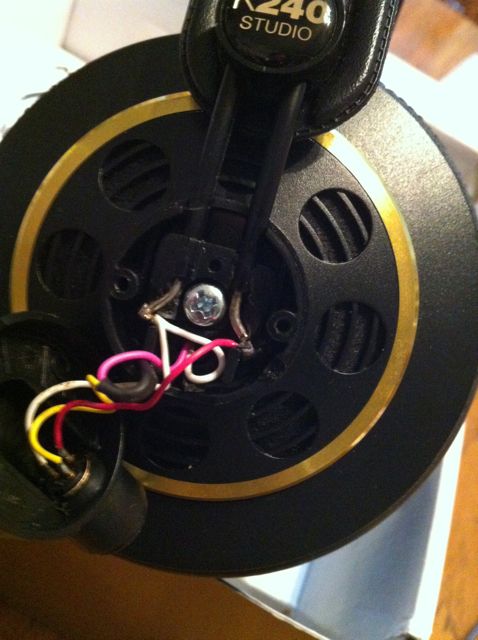
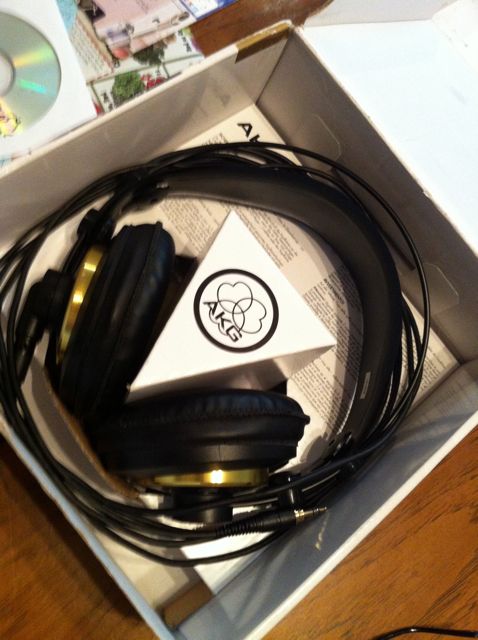
AKG K240 Repair for a Friend

Here’s another AKG K240 repair job.  I took on the job of repairing my friend’s headphones after they had already been repaired once.  Since I had a good experience with repairing mine I thought I’d give it a try.  Here’s how it went:

IMG_1316

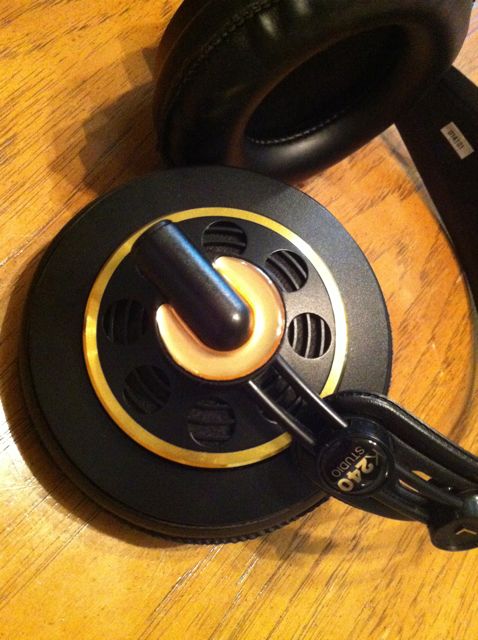
After removing the “emblem” cover:

IMG_1317

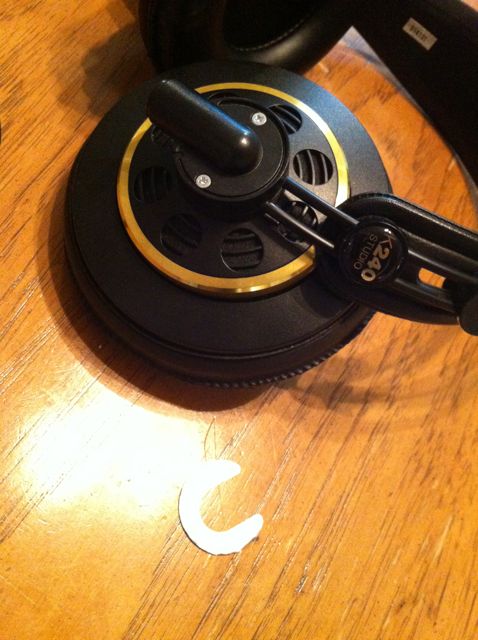
Take out the two screws

IMG_1319

Ready to open:

IMG_1321

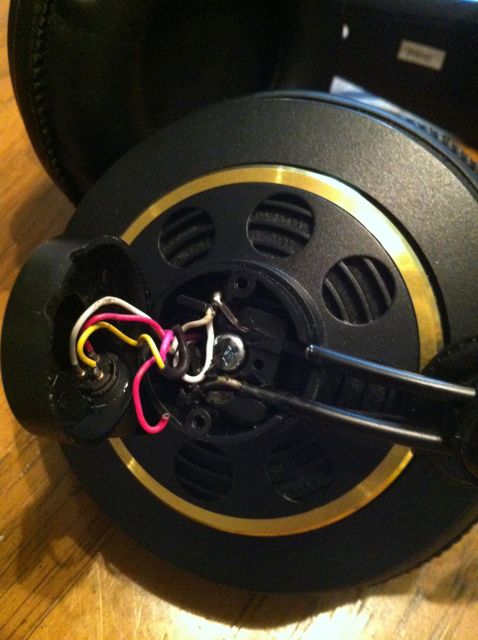
Apparently, the previous fix used some sort of putty or chewing gum to hold it all together.  Unfortunately, the bars and wires could still move around and one of the previously repaired solder joints had failed again.  So I took out all the gum and got the epoxy ready.

IMG_1323

After getting some of the gum out:

IMG_1325

Had this epoxy in the shop for some time, had to see if it was still good…it was.

IMG_1329

All cleaned up, new solder joints on both bars and ready for epoxy.

IMG_1334

The epoxy cures so quickly, I had to make a third batch for the actual repair.

IMG_1339

After putting on the epoxy:

IMG_1342

After burying the screw, I thought that might not be so good if there were ever another attempt to remove the bars again, so while the epoxy was still gummy, I removed the screw, cleaned up the area and removed the epoxy from the screw.

IMG_1345

After cleaning the screw off, I gave it a light coat of petroleum jelly and put it back in.

IMG_1350

Here’s one last look inside before re-assembly:

IMG_1352

Time for some final re-assembly after 20 minutes or so…

IMG_1360

And back in the box for an hour to cure.

IMG_1365

After one final test, call it done…good as new!
AKG 240 Studio Headphone Repair

Last night I discovered the left side of my AKG 240 Studio headphones was flakey. With a bit of searching, I found this was a pretty common failure for this model. After reading and looking at a few tutorials on the web, I decided to go for the repair. The failure point was obvious once I got them open, a flakey connection that became fully open once I exposed it. Follow along as I document my 15 minute journey to repair them.

IMG_5880
Just getting started, need to peel back the gold cover “emblem” by prying off with my fingernail.
IMG_5883
Once that was off, the two Phillips head screws were exposed.
IMG_5886
Once the screws were out, I gently pulled off the cover exposing the wires and the red one just popped off completely. I also found a small bit of plastic broken off from the piece over the cross-bars.
IMG_5890
After peeling back the insulation on the wire and tinning it, I soldered it back in place with a generous blob of solder.
IMG_5899
If you notice, I touched the plastic around the edge a bit with the soldering iron, but it’s no problem, they went back together nicely.
IMG_5901
The cause appears to be because of the movement of the two cross-bars that not only provide the mechanical connection from left to right, but also carry the audio signal electrically. If this should happen again, I will probably get out the J-B Weld and epoxy over where the cross-bars connect so they don’t move around so much in there. But for now, all is working once again. Yeah!

Celebrating 50…

Back on Feb. 14, 2010, Mount Olive celebrated our 50th anniversary. The band celebrated by singing songs that we had done as far back as any of us could remember. I even dressed the part, too! 🙂

Here’s I Believe in Jesus complete with the stuttering leader (me) and the Apostle’s Creed in the middle just like we did it back in the day. Thanks to Daniel Sievert for providing the video!

My first YouTube video

I’m not one to share a lot of media, but yesterday I found myself listening to my personal music library and reminiscing about this night when Mark Belanger and I performed together at his gig at the Flat Iron Cafe in Middleborough, MA while I was visiting there as part of my summer vacation in 2010. Here’s how we looked and sounded after one brief rehearsal:

Tequila Sunrise – Eagles cover by Mark Belanger and Bery Rinaldo

Special thanks to my friend Patrick Mullin for using my iPhone 4 to video us, and to Mark for graciously sharing the stage for a few songs. A good time was had by all!